 |
 |
 |
 |
 |
 |
 |
 |
 |
 |
 |
 |
 |
 |
|
 |
 |
 |
|
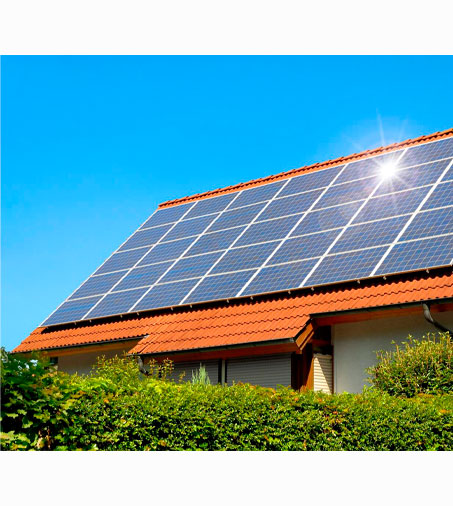
Unleash the power of the sun with our seamless, step-by-step solar panel installation service that transforms your home into an eco-friendly powerhouse-get an instant, no-obligation quote and watch as our expert team guides you through every phase, from consultation to connection, ensuring a smooth transition to sustainable energy while boosting your home's value and cutting your electricity bills, all with the assurance of unmatched quality and reliability.
https://unboundsolar.com/blog/step-by-step-diy-solar-installation?srsltid=AfmBOopu8VT-npe3VjFVdxjKcNEnfMJZD2oz85KiUBjUJ-B5-9P2tmX8
We've created a comprehensive, step-by-step solar panel installation guide to help you through each stage of the solar installation process. https://www.otovo.co.uk/blog/photovoltaic-systems/how-are-solar-panels-installed-a-step-by-step-guide/
In this short guide we're going to walk through the eight-step process of installing solar panels on a home, as well as providing an overview of how long you ... https://www.youtube.com/watch?v=cEkkRNJX7ss
Full step by step solar system install for beginners. Easy DIY. Everything you need to know to install your own solar system on your house ...
|